The short version
- Open Azure PowerShell
- Select the subscription you want to document
-
Run this one-liner
Get-AzureVM | ForEach-Object { $vm = $_.name ; Write-Output “$vm VM Properties” ; Write-Output “—————” ; Format-List -InputObject $_ -Property * ; Write-Output “$vm VM Endpoints” ; Write-Output “—————” ; Get-AzureEndpoint -VM $_ ; Write-Output “$vm Virtual Disks” ; Write-Output “—————” ; Get-AzureDisk | where {$_.AttachedTo.RoleName -eq $vm} ; Write-Output “==================================`n” } | Out-File -FilePath “.\myVMs.txt”
Not too many steps in “step-by-step documenting your Azure Vms” but this is really useful and deservers some attention to be tried out.
The detailed version
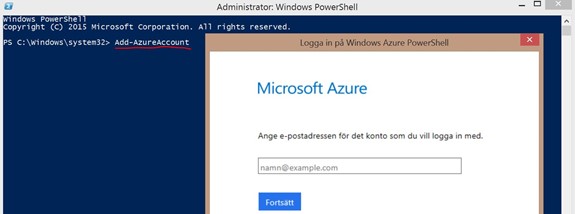
- Open Azure PowerShell, How to install
-
Add user account
- Change the default folder, either in PowerShell or in the code “xxx.\myVMs.txt“..
-
Copy-Paste the one-liner

- Wait a little and then look at the result.
I have been using this script for a while and have found it to be very useful to speed up documentation, I got it from here and credit to Mark Renoden via @Plankytronixx
Ideas going forward is to have the information in a CSV and then connect it to a Visio, if anyone has tips on how to do it please let me know J